Tuesday, March 29, 2011

Chicken Jambalaya

My sincere apologies to any southerners out there. I'm really not sure what a true Jambalaya is, I'll have to research that one, so calling this dish Jambalaya may be a huge culinary faux pas. Forgive me? My mom made this dish often and called it Jambalaya, so I grew up calling it Jambalaya and so now my family calls it Jambalaya. It really can't be too criminal to do so, it's a fun word to say. Jaum-ba-lie-ah. Kind of rolls off the tongue don't ya think?

We'll regardless of what it ain't, what it is is a simple, easy to make one pot meal. It comes together pretty quickly and the possibilities for variation are endless. I'm showing you here a pretty simple version but don't be limited. If you want to spice things up, add some diced green chilies or use a spicy sausage or do both. For more flavor saute some celery and red bell pepper with the onion. Toss in some nuts to add some crunch or give it a Moroccan vibe with some cumin and dried fruit. Skip the chicken and use shrimp* or use both. Or use any kind of seafood*. See where I'm going here. This is a very forgiving dish so tweak, fiddle and adjust to your hearts content, make it your own. I don't mind.

Here's what you need: bone-in chicken - skin removed (a whole cut up fryer works well, I didn't have one so I just used drums and thighs, you could also use boneless, skinless breasts or thighs but you really get more flavor with the bone-in chicken. Use what you like.), olive oil, onion (Yea! my husband is out of town so I'm using a real onion. I'm so excited!), some sausages (I like these nitrate free chicken and apple sausages, adds a bit of sweetness.), white rice, chicken broth, tomato sauce, garlic powder (feel free to use real garlic and add it with the onion), salt and pepper.


Give your onion a nice medium dice.
Ohhh, this is going to be good. Real onion, a treat for me!


Slice the sausage up into 1/4 inch pieces.


Heat the olive oil in a large dutch oven set over a high heat. (This is the Le Creuset French Oven that my wonderful husband gave me for Christmas. I literally screamed when I open it. It's a magic pot. Everything turns out amazing. Get yourself one this very minute. Expensive, yes. . . but worth every penny!) Add the chicken pieces and brown on both sides. You may need to do this in two separate batches so you don't crowd things. The idea is not so much to cook the chicken but to get some good color on the outside and some flavorful brown bits on the bottom of the pot.  Remove the chicken to a plate lined with a few paper towels.


Reduce your heat to medium and add the onion. Cook just until softened. I got distracted and some of the onion browned a bit quickly but, again, this dish is forgiving.


When the onion is soft, add the sausage and cook until both the onion and sausage begin to get some nice color.


Add the rice and saute for just a minute or two. Then pour in the chicken broth and scrape up all those flavorful browned bits from the bottom of the pot. 
(In fancy terms "deglaze" the pan.)


Add the tomato sauce, garlic powder, pepper, salt and a cup of water. (Feel free to adjust the salt and pepper to suit your tastes, I'm notorious for under salting and I love a lot of pepper.) Give it a good stir and add the chicken back to the pot. Bring the whole thing to a simmer, reduce the heat to low, cover and let cook for 20-30 minutes until the rice is tender and most of the liquid is absorbed. Give the pot a stir now and again to prevent the rice from burning on the bottom.

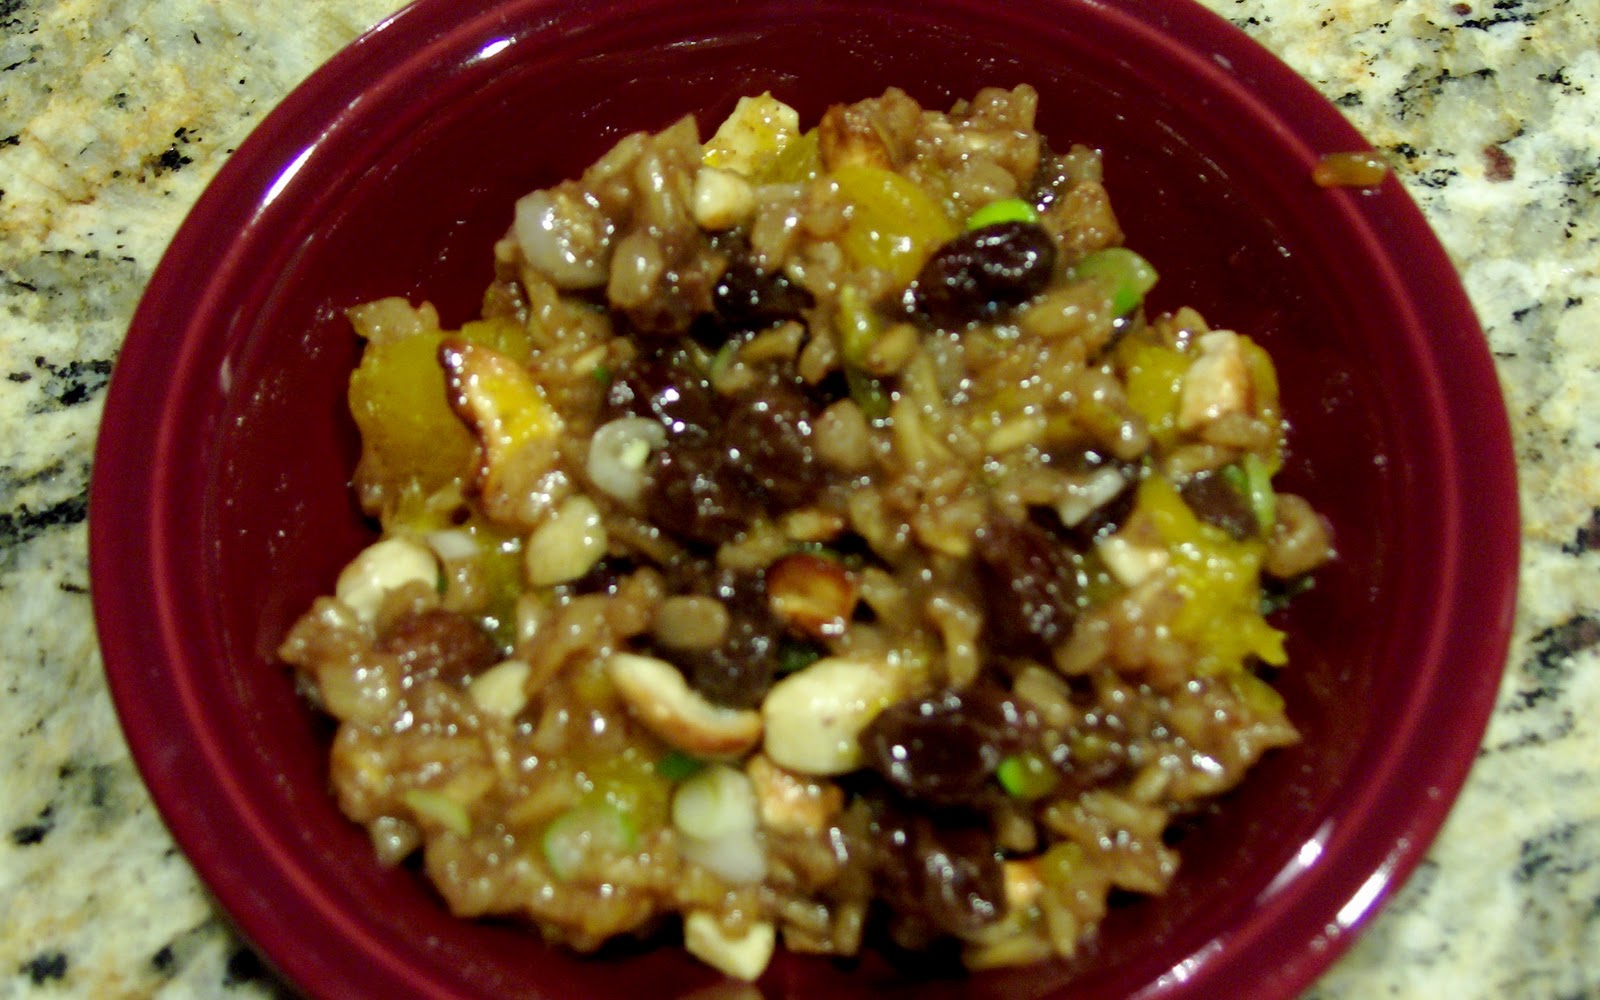
OK, doesn't look like much in the picture. If I was a better food stylist I'd have a sprig of parsley for color, to garnish the plate. But, as usual, I wasn't thinking that far ahead. I'll get better, I'll work on it, I promise. So what you have is a great one pot meal. Serve it with a fresh green salad and some crusty bread. And the best part is that it makes great leftovers!


Chicken Jambalaya

1 whole cut up fryer, skin removed (or 6-8 pieces bone-in chicken)
2 T. olive oil
1/2 medium onion, diced
12 oz. sausage, sliced in 1/4 inch pieces
1-1/2 C. white rice
1 14.5 oz. can chicken broth
1 15 oz. can tomato sauce
1 C. water
1 t. garlic powder
1 t. pepper
1/2 t. salt

Heat oil in a large Dutch Oven over high heat. 
Brown chicken 3-5 minutes on each side. Remove from pan. 
Reduce heat to medium and add onion. Cook until soft. 
Add sausage and continue cooking until both onion and sausages begin to brown.
Add rice and saute for 1-2 minutes. 
Add chicken stock, scraping up browned bits from the bottom of the pan.
Add tomato sauce, water, garlic powder, pepper and salt. Stir to combine.
Add chicken pieces back into the pot and bring to a simmer. Reduce heat to low, cover and simmer for 20-30 minutes until rice is tender. Stir a few times during cooking to prevent rice from burning on the bottom.
Serves 4-6


*If you use shrimp or seafood it cooks much more quickly than chicken. Saute it at the beginning just like the chicken but don't add it back into the pot until the last 5-10 minutes of cook time.

Wednesday, March 23, 2011

Thoughts On Healthy Eating


I realized the other day that I haven't put together a "mission" for this blog. Kind of a simple definition as to why I started it, what I hope to accomplish and my thoughts on food and my background. I think it's time to do that. So here goes. . .

I'm not a dietitian. I'm not a nutritionist. I'm not a food scientist.  I'm not a expert on food or professional cook. I have no formal education or training when it comes to food. What I am is a wife and mom who loves to read, bake, cook and create. I have an addiction to cookbooks and food blogs and I probably need help! It all started back in the 70's when as a kid I used to watch "Master Chefs" on PBS after school. Then came cable TV and the Food Channel and it was all over for me. I was officially obsessed with food. Reading, researching, baking, creating and driving my family crazy. 

Both my parents have had cancer; Dad's been in remission almost 30 years, hallelujah, Mom passed in 2008 from a 10 year battle with breast cancer. (Love ya Mom!) Both my husband's parents have had cancer as well; Mom passing in 1995 and Dad currently in remission. Both my maternal grandparents and my paternal grandmother (and her sister) had cancer. Cancer, cancer, cancer, I just can't get away from it. What caused their cancers? Environment? Lifestyle? Genetics? We may never know. What does it mean for me? My husband? My children? Who knows. What I do know is that we've got a darn good reason to live a healthy lifestyle. If, god forbid, any of us do get cancer, I want to make sure we've got healthy bodies to fight it.

When my daughter was born I became a ferocious label reader; vowing to make sure she had only the healthiest of foods. As you can imagine I quickly became overwhelmed and virtually paralyzed trying to shop for groceries. Nitrates? GMO? Organic? All-natural? Free-range? High Fructose Corn Syrup? Artificial Colors? Artificial Flavors? Trans Fat? Saturated Fat? What did it all mean. There were so many conflicting stories about what was "safe"; what caused cancer; what was "healthy". I had to find balance. To commit to a strictly organic, free-range, all-natural lifestyle was both expensive and logistically difficult when you're trying to work and raise two kids. On the other hand, everything in the "main stream" grocery aisles had some sort of "no no" ingredient. So where did that leave me? 

What I've come to is a 80/20 philosophy on healthy eating; 80% healthy/20% don't worry about it. How does that work? I try to buy organic as often as I can. However, if I can't find an organic version of whatever I need, I don't worry about it. I avoid nitrates in lunch meat but if we are out at a baseball game I go ahead and let my kids get a hot dog and I don't worry about it. I try to avoid high fructose corn syrup, artificial color and artificial flavor in the majority of foods that we eat day to day. We don't deprive ourselves of sweets and treats but do try to keep them homemade where I can control what goes into them. Every once in while I'll splurge on a box of Fruit Loops or Oreos and I don't worry about it. Basically, I try to keep the foods at home as healthy, organic and all-natural as I reasonably can. And for the one or two times a week that we eat out, I don't worry about it. Kind of an "all things in moderation" mentality. And well, for the past 13 years, it seems to be working for us. All healthy, all thriving. Amen!

What does all this mean for this blog. Well it means that you'll find a wide variety of recipes that fall all over the healthy eating food spectrum. For example, a recipe for an "everyday" dinner dish will most likely lean more to the healthy side. A post for Birthday Cake, no so healthy. Cookies need butter and sugar and I love butter and sugar so I use butter and sugar. I don't make low fat cheesecake or whole wheat pizza crust. I do use all natural meats and organic dairy and produce when I can find them. Again, it's about finding a balance for yourself and it's different for everyone. For most recipes you can substitute an organic version of the called for ingredient and by all means please do. This isn't a healthy eating blog. It isn't an all-natural or gluten free blog. It's not meant to advocate any particular lifestyle or diet. What it is is a chronicle of my passion for food, cooking and baking. Things I've learned about, things I want to try, things that have worked for me and things that I want to share with you.

OK, so that wasn't a simple definition, but I think you get it. Where I'm coming from. And I'll say it again: I'm not a dietitian. I'm not a nutritionist. I'm not a food scientist.  I'm not a expert on food or professional cook. I am a wife and mom who loves to read, bake, cook and create. . . and I'm a Food Blogger thanks to all of you.

Bon appétit!
Becky

Monday, March 21, 2011

Zombies!


What the heck is a Zombie? We'll if you went to my High School it's just a little piece of heaven. OK, let's back it up. . . Two years ago when I finally caught up with the world and joined Facebook, I posted some old pictures from High School. That of course invited a lot of comments, one in particular that mentioned the Zombie. Wow, I hadn't thought of those in years. A warm, soft, slightly sweet roll filled with melted cheese. Oh how I loved them and how I faithfully ate one everyday. Needless to say the comment had me craving the Zombie. I scoured the web looking for recipes. Certainly I couldn't be the only one in search of this culinary delight. But alas, I couldn't find a recipe that matched the deliciousness that I remembered. I found a few that were close, so I tweaked, fiddled, modified and experimented until I finally did it. Or at least I think I did. I posted the recipe on Facebook and my old high school chum Richard was brave enough to give it a try. The reviews were in, he liked 'em, his kids like 'em. Eureka! I did it. And now Richard and I have introduced a whole new generation to the Zombie. Join us!

Here is what you need: Yeast (I always you SAF-Instant, just works for me.), AP flour, sugar, salt, softened butter, an egg and processed American cheese. I know, I know, I normally shy away from the processed stuff but for the true authentic Zombie experience you really need to use it. The slices work great but I actually prefer Velveeta. If you just can't bring yourself to use it, go ahead and use your favorite cheese.

Preheat your oven to 170°F. When it comes up to temperature, turn it off and keep the door closed. Next you'll need 1 cup of warm (110°F) water. Use a thermometer, you don't want it too hot. Believe me, I've had my fair share of troubles with killing yeast, only you don't find out until it's too late. So again, check that temp!

Gently stir the yeast in, set it aside and let it dissolve.

Add the flour, sugar, salt and butter to the bowl of a stand mixer fitted with a dough hook. Give the yeast a stir and add it as well.

Mix on medium speed for 7-10 minutes until you have a soft pliable dough.
This is NOT soft and pliable.

This IS soft and pliable. Now turn the mixer off, form the dough into a smooth ball and let it rest. A good 5 minutes or more. Set a timer. Don't rush it!

While your dough is resting divide your cheese into 8 1-1.5 oz. portions. If you are using slices, each is about 1 oz. so I used 1-1/2 slices of cheese per Zombie.

Once it has rested A GOOD SOLID 5 MINUTES, flatten the ball of dough and divide it into 8 equal portions.

Form each portion into a ball and then into a flattened disk. Place one portion of cheese in the middle.

 Stretch and pull the dough around the cheese pinching to seal it in. Really really pinch it good, you don't want any of that cheese leaking out.

Finish the rest of the dough the same way and place the Zombies pinched side down on a parchment or Silpat lined baking sheet.

Put them in the warm, but turned off, oven for about an hour until they are doubled in size. I like to prop the oven door open so it isn't too warm. Just nice and cozy so that the yeast can do its thing.

After an hour they are fluffy and twice as big. Yea! Take them out of the oven and preheat it to 350°F.

Beat the egg with 1 teaspoon of water and lightly brush the tops. This gives the Zombies a nice shiny golden brown color. You can skip it if you don't like shiny brown tops but I do. Makes me feel all warm and fuzzy inside. 

Once the oven is up to temperature in they go for 15-20 minutes until they're nice and golden brown. See those nice shiny tops. Pretty!

They're best served hot and fresh from the oven but will save for a day or two. Just reheat them in the microwave for about 30 seconds to get the cheese melty. Mmmmm, comfort food. They also go great with soup for lunch.

Cheese Zombies
Makes 8

1 C. warm (110°F) water
1 "rounded" T. yeast (I use "Saf-Instant" available at King Arthur.com)
3 C. All Purpose flour
2 T. sugar
1 t. salt (I always use Kosher)
2 T. butter softened (I used unsalted, if you use salted, reduce salt to 3/4 t.)
8-12 oz. processed American cheese (see note below*)

1 egg beaten
1 t. water

1.   Preheat oven to 170°F. When oven comes to temperature turn off and leave 
      the oven door closed.
2.   Gently stir yeast into 1 C. warm water and set aside.
3.   Add flour, sugar, salt and butter to the bowl of a Kitchen Aid mixer fitted 
      with the dough hook.
4.   Give the yeast a stir to make sure it is dissolved and add to the mixing bowl.
5.   Mix for 7-10 minutes until dough is soft and pliable. Let rest for AT LEAST 5 minutes.
6.   Divide dough into 8 equal pieces. Flatten each piece into a disk and place 
      1 to 1-1/2 oz. cheese in the center of each disk. Pull up dough around cheese and 
      pinch WELL to seal.
7.   Place Zombies seam side down on a parchment or Silpat lined baking sheet.
8.   Proof in preheated (but turned off) oven for 1 hour. Leave oven door ajar. 
      Zombies should double in size.
9.   Remove Zombies from oven and preheat oven to 350° F.
10. Mix beaten egg with 1 t. water and brush tops of zombies with mixture.
11. Bake Zombies in 350°F oven for 15-20 minutes until golden brown. Serve warm.

*NOTE: For a true authentic Zombie flavor and texture you need to use Processed American Cheese. (Velveeta or the like). You can use any cheese you like but only the processed cheese will melt smoothly.

Tuesday, March 15, 2011

White Chocolate Chip Cherry Cookies


Here I am on Tuesday. Late, again. We've had a cold rolling through our house this last week. I thought I had dodged it but alas, yesterday I woke up with a sore throat, stuffy nose and yadda yadda yadda, I felt awful. Still do. Top that off with a rotten day at work, (not going into it, putting it behind me, wrapping myself in the warm cocoon of my blog.) and I just wasn't feeling up to blogging. But here I am. Chock full of cold medicine and in my comfy clothes. I'm ready to go so let's get cookin'. . . oh and if I start to ramble on, it's the Dayquil.

This recipe is a variation on my trusty Chocolate Chip Cookie recipe. Now I'm not even sure that I'm that good of a cook. I think I am, my friends and family say I am, but maybe they're just being nice. Who knows? What I do know is that this recipe makes AWESOME chocolate chip cookies. I know this because I have been making them this way since high school. When I was in college, two different college boys, on different occasions declared them to be better than their own mother's cookies. So, as far as I'm concerned that's a winning endorsement. This time out I'm going to use white chocolate chips and dried cherries. You can use whatever you like, chocolate chips, nuts of any kind, butterscotch chips, etc.; put your own stamp on it. The secret is using really really good vanilla. If you can find vanilla paste, great! If not just make sure you use a good quality vanilla and follow the steps. You won't be disappointed.

Here's what you'll need: AP Flour, rolled oats (regular or quick, doesn't matter), baking soda, salt, butter, sugar, brown sugar, REALLY GOOD vanilla, an egg, white chocolate chips and dried cherries. (FYI, I wasn't too happy with this brand of white chocolate chips, they didn't ruin the cookies but I've had better,  probably won't use them again.)

First, before you measure, finely chop the cherries. This will give you little flecks of cherry throughout the cookie instead of big chewy tart chunks which can be overwhelming. If you prefer the chewy chunks, by all means, skip this step.

Next, before measuring the oats, grind them up to the texture of flour. I use my well cleaned coffee grinder but a food processor will work. 

You just want to create an "oat flour" so grind it pretty finely, you may have to do this in a couple of batches if you are using a coffee grinder. This step gives the cookies great texture.

In a large bowl, stir together the flour, ground up oats, baking soda and salt. 
Set aside.

Using a stand mixer, cream the butter, sugar and brown sugar until light and fluffy. This can take up to 5 minutes! Put in the time, it's worth it.

At 2 minutes, this is NOT light and fluffy.

This IS light and fluffy. Took just over 5 minutes and you may have to stop and scrape down the sides of the bowl from time to time.

Add the egg and REALLY GOOD vanilla and beat until well mixed.

Slowly add in the dry ingredients with the mixer on low, scraping down the sides and mixing just long enough to get it all incorporated. Don't over mix!

Mix in the chopped cherries and white chocolate chips.

Finish by hand to get the cherries and white chocolate chips well mixed in.

Scoop up 1 tablespoon balls of dough and lay them out on a lined cookie sheet. 
I use a cookie scoop. Pop them into the freezer for 5-10 minutes. This is a good time to get your oven preheating to 375°F.

Lay the dough balls out about 2 inches apart on a greased or lined cookie sheet. Seriously, if you bake cookies often you really should get a Silpat mat! Off to the oven they go, for 10 to 15 minutes just until the edges start to brown. 

These took 13 minutes. YUM!

Here is a little trick. If you don't want to bake up 3 dozen cookies all at once. Leave the dough balls in the freezer for about 1 hour until they are frozen solid. Then transfer them to a zipper bag, squish out all the air, and store them back in the freezer. For fresh hot cookies "on demand", just heat up your oven (375°F), and bake 'em off (10-15 min.). Easy!

White Chocolate Chip Cherry Cookies

2 C. flour
1/2 C. ground rolled oats
1 t. baking soda
1/2 t. salt
1 C. (2 sticks) butter
1/2 C. sugar
3/4 C. brown sugar
2 t. vanilla
1 egg
1 C. white chocolate chips*
1 C. chopped dried cherries*

Preheat oven to 375°F.
Stir together flour, ground oats, baking soda and salt and set aside.
In a stand mixer, cream together butter and sugars. Mix until light and fluffy.  Add egg and vanilla and mix well.  Slowly stir in dry ingredients until just incorporated. Add white chocolate chips and cherries and mix well, finishing by hand. Scoop heaping tablespoons of dough onto a lined cookie sheet. Freeze for 5 to 10 minutes. Place dough balls 2 inches apart on cookie sheet and bake in preheated oven for 10-15 minutes. 
Makes about 3 dozen cookies.

* You can substitute anything you like, chocolate chips, nuts, etc. Just make sure it totals 2 cups of ingredients.


Monday, March 7, 2011

Orange and Spice Rice Salad

Here is another recipe that comes from my mom. Usually I adapt, tweak, and put my own spin on the many recipes that originate from her recipe files. This one, however, I have left alone. It is great, just the way it is. It was her "go to" recipe for any pot luck, block party, swim party or any of the other neighborhood parties that happened frequently in the 70's, in the suburbs, in the summer.
Those were the days.

In the new millennium, when most grocery stores have "ethnic" food sections with ingredients for Mexican, Chinese, Thai, Indian and pretty much any kind of cuisine you can think of, this recipe probably doesn't seem that unusual. But, back then, I mean way back when, when I was just a kid, this was a pretty rare flavor combination. Rice and cinnamon? Raisins and cumin? So exotic! The smell of it cooking was so enticing, like nothing I had ever smelled. It conjured images of riding on camel across the Arabian Desert, sitting on the floor in a nomadic tent and eating with your hands. . . a million miles from my Northern California suburb. Oh the adventure!

So, if you are in the mood for something a little different. An interesting combination of spices and ingredients, you'll love this. It's great for pot lucks; it tastes good cold, hot or at room temperature; it contains no dairy (sour cream, yogurt or mayonnaise) so you don't have to be overly concerned with spoilage; and it stands out against the usual pot luck fodder of pasta and potato salads. It's a great side dish or it could be a hearty vegetarian entree, whatever you like and I hope you will.

Orange and Spice Rice Salad

Here is what you'll need vegetable oil, brown rice (you can make it with either regular brown rice, shown, or instant brown rice (photo below), I prefer the instant and it's what I usually use, you can use either, I'll share in the recipe the few adjustments you'll need to make.), salt, pepper, sugar, ground cumin, cinnamon, raisins, lemon juice, thinly sliced green onion, rough-chopped salted cashews and rough-chopped and drained mandarin oranges. It's best to have everything chopped and measured before you start, it comes together pretty fast.

This is the rice I like to use. The rice ends up a bit softer, more the texture of white rice. If you prefer a nuttier crunch then use the regular brown rice.

Add the rice and 3 tablespoons of oil to a large frying pan over medium heat.

Cook, stirring frequently, until rice starts to brown.

Next add water, salt, pepper, sugar, cumin and cinnamon. 
Reduce heat to low, cover and cook for about 10 minutes.
(30 minutes if you are using regular brown rice)

Throw in the raisins and cook 5 minutes more (20 minutes if you are using regular brown rice.), until the rice is tender and raisins are plump.

Remove from heat and let cool to room temperature.

Stir in remaining 1/4 cup oil, lemon juice, onions, cashews and oranges. Refrigerate until ready to serve 
(I like to let it go overnight, really brings all the flavors together.)

Delicious, hearty, vegetarian and exotic!


Orange and Spice Rice Salad

3 T. plus 1/4 C. vegetable oil
2 C. instant brown rice (1 C. regular brown rice)
3 C. water (3-1/2 C. water)
1 t. salt
1/4 t. ground black pepper
4 t. sugar
2 t. ground cumin
1 t. cinnamon
1-1/2 C. raisins
1/3 C. lemon juice
1/2 C. thinly sliced green onion (including some green tops)
1 C. coarsely chopped salted cashews
1-15 oz. can mandarin oranges drained and coarsely chopped (or 4 large oranges peeled and chopped)

Put 3 T. vegetable oil and rice in a large frying pan over medium heat. Stir and cook until rice begins to brown.  Add water, salt, pepper, sugar, cumin and cinnamon. Stir well, reduce heat to low, cover and cook for 10 minutes (30 minutes). Stir in raisins and cook 5 minutes (20 minutes) more or until rice is tender, raisins are plump and all the water has been absorbed. Remove from heat and cool to room temperature. Stir in remaining 1/4 C. oil, lemon juice, onions, cashews and oranges. Cover and refrigerate until ready to serve. (Best when refrigerated overnight.)

Modifications for making with regular brown rice are shown in italics.