Monday, February 28, 2011

Birthday Cake (part 3)

My apologies for those of you who have been waiting on this. Just seems as though I've been cooking a lot of my favorites lately and just can't wait to share them with you. Time to prioritize, get things in order.
So. . . even though I made a great Brown Rice Salad this weekend;
and. . . even though I made crepes last week;
and. . . even though I went to the restaurant supply store and can't wait to tell you about my adventure. . . I'm going to take this opportunity for us to finish up our Birthday Cake, if I wait any longer it'll get forgotten and we don't want that to happen. So. . . lets make a cake!

If you followed Birthday Cake (part 1) and Birthday Cake (part 2) then you should have everything made and be ready for assembly. There is just a bit of equipment that isn't essential but very helpful. (click on the links and you can see what they look like):
- Revolving Cake Stand
- a piece of "grippy shelf liner"
  (I found some already cut into 6 inch rounds at the Dollar Store)
- 8-inch cardboard cake circles
- Cake icer tip and large pastry bag
- Large offset spatula
- Scraper
- Rimmed Cookie Sheet
- Cooling rack
- Ladle
- Disposable icing bags
- Large star icing tip (Ateco #855) for the border
- #4 icing tip for writing on the cake

Now let's get started.

Lay the grippy liner on your cake stand. 
This will keep the cardboard cake circle from sliding around as you ice the cake.

Next, lay the 8-inch cake circle on the grippy liner and put a dab of buttercream in the center.

Lay down one of the cake layers and spread with 1/2 the raspberry filling. Add another cake layer and the other 1/2 of the filling and top with a final layer of cake. Notice that the 8-inch cardboard round is slightly larger than the cake, which was baked in an 8-inch cake pan. As the cake cools it shrinks up a bit so it ends up about 7-3/4 inches. This gap between the cake and board is just about an 1/8 inch which is just about the amount of buttercream that you want on the cake. This will make more sense in later steps. Trust me, I wouldn't lead you astray! 

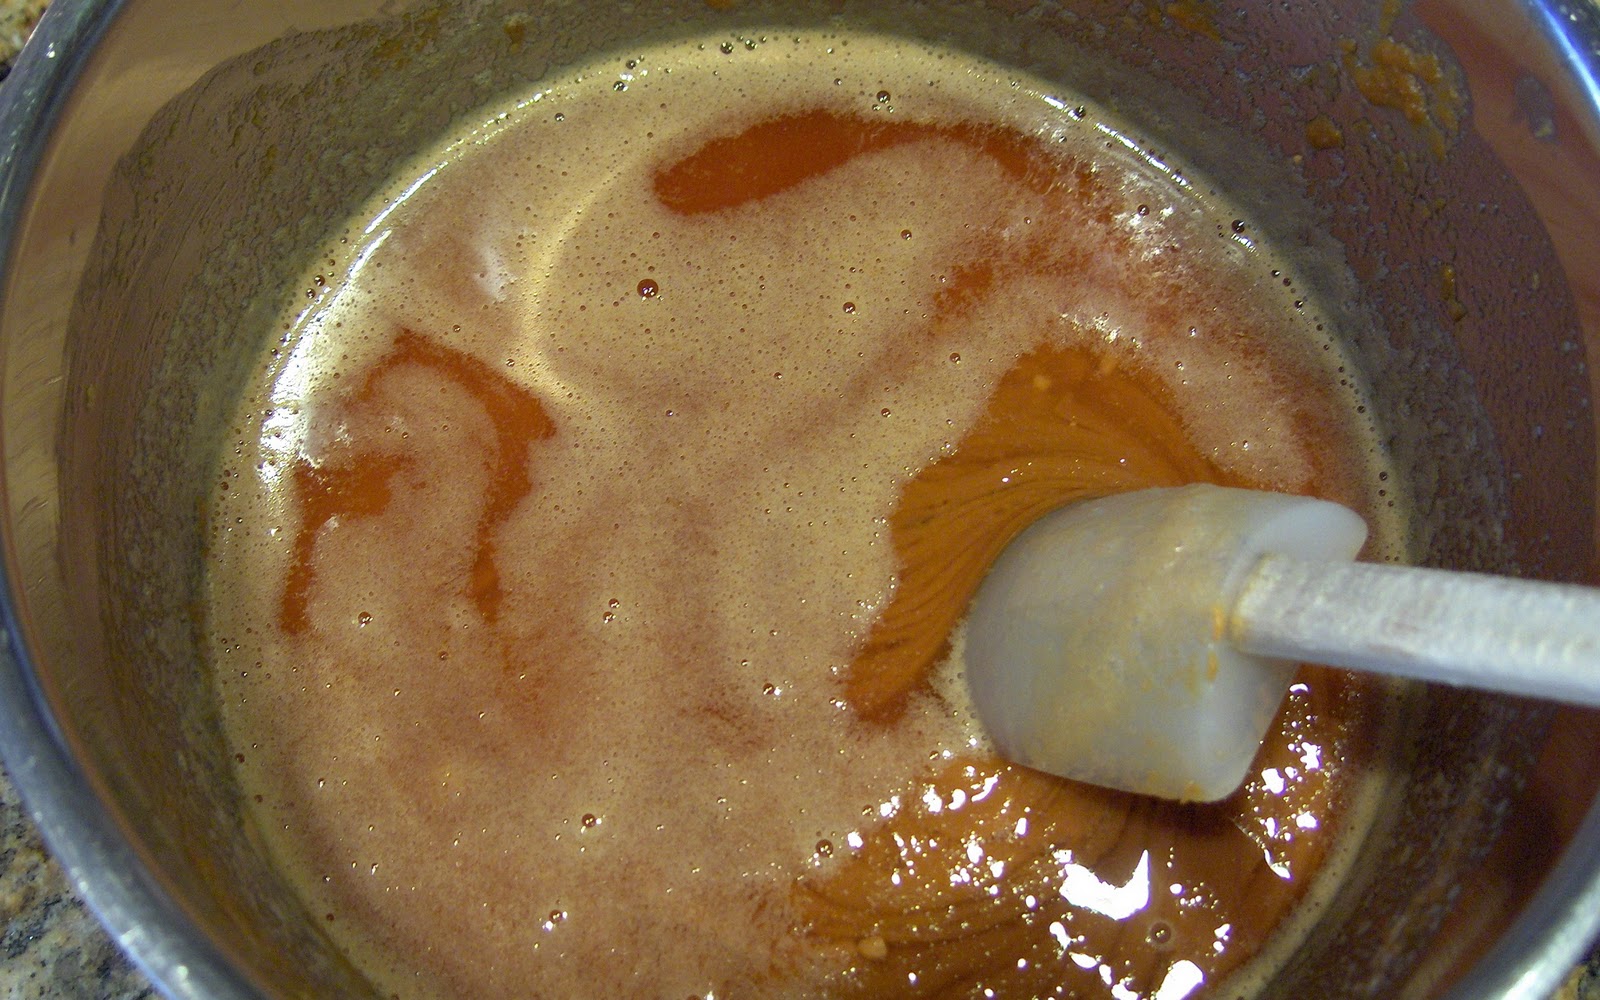
Fit a large pastry bag with the icer tip and fill with buttercream. I used a large disposable bag which I got at work. You can use a large zipper bag, that will work just fine.

Ice the sides and top of the cake. Neatness doesn't count here, you just want to get a nice layer of buttercream on all parts of the cake. NOTE: Icing a smooth cake is more about "taking away" then "adding on" the buttercream. So, within reason, get a pretty generous amount on the cake.

Using the off-set spatula smooth the buttercream around the sides first, scraping any excess off. Resting your spatula against the edge of the cardboard round, holding it parallel to the cake,  rotate the cake stand to smooth the buttercream. This will leave a nice 1/8-inch layer of buttercream on the cake. You can also use a "pastry scraper". Rest the side of the scraper on the cake stand, butting the edge up against the cardboard round. (see the next photo and ignore my unmanicured creepy looking hand!) Again, rotate the cake stand to smooth the edges. Smooth the top with the spatula, by starting at the edge and smoothing towards the center. NOTE: The edge of the spatula should be at about a 45° angle to the surface of the cake. Once you have the buttercream nice and smooth, put the cake in the freezer for a good hour. You want the buttercream very firm for the next step.

My apologies for this bad picture. Lots going on between the reflection of my orange scarf and my weird looking thumb. I hope a the least you get the idea on how to get even straight sides on your cake.

 
While the cake chills, get set up to glaze your cake. Place a rack over a rimmed cookie sheet. Again have an offset spatula handy. If you made the glaze ahead then reheat it over a double boiler until it is nice and smooth. Then cool to 100°F. Once your glaze is to the right temperature, take the cake out of the freezer and place it on the rack.

Pour or ladle the glaze all over the cake; starting in the center of the top and using the spatula to spread it over the sides. Try to get the entire cake covered in one continuous "pour" so that you don't get "ripples". My glaze was a little cold and I didn't go fast enough (busy taking pictures) so I got ripples. Now, as far as I'm concerned, it looks fine. Back in my 20s, when I was obsessed with perfection and all things "Martha Stewart", those ripples would have really bothered me. But I'm in my 40s, raising two kids, nurturing a marriage, working part time, writing a blog and I just don't have the energy to worry about ripples. Anyway, who cares, still tasted great and isn't that what counts!

Allow the glaze to set for 10-15 minutes then transfer the cake to a serving plate. Finish it off with a buttercream border around the bottom and a message on top. Voila, birthday cake. For best results, store your cake in the refrigerator until about 30 minutes before you want to serve it. Then take it out and let it come to room temperature. Cake is always better at room temperature. Good Luck and. . .

Enjoy!
Becky


Tuesday, February 22, 2011

Candy Popcorn

At the least it's not Tuesday afternoon or Tuesday evening, at best, it's Tuesday morning. So you see, I'm getting a little better, but alas, still late. I considered changing my self imposed weekly deadline to Tuesday but then I'd be posting on Wednesday, still late, then change the deadline to Wednesday then post late on Thursday. You see the downward spiral, chaos would ensue and the world would spin out of control. So in the interest of doing my part to keep the universe in order, I'll keep the Monday deadline and someday I'll get "it" all together. Bear with me, it's a journey and I'm determined to make it. And, so, on to cooking. . .

If weird, artificial colors, artificial flavors and "bad stuff" send you running for the hills, well then, get your running shoes and find a hill because this ain't no healthy recipe. But, if every now and then you like to live dangerously and like me you've got an 80/20 philosophy about eating healthy (80% healthy, 20% "throw caution to the wind") then you just might have what it takes to try this out. This candy popcorn is a favorite of my kids and they request it each year on their birthdays. The possibilities of color and flavor are endless and layered in a cellophane bag and tied with a ribbon, it makes a great party favor. And, for some reason, it is strangely addictive. I make it for my kids, then end up eating half of it myself when it neither looks nor sounds appetizing. I can only guess that it's the "crispy crunch" that keeps me reaching for more. I'm going to leave it at that, sometimes it is OK not to questions and to just accept. This just might be one of those times. So throw caution to the wind and give it a try.

Candy Popcorn

Here is what you'll need. Popped popcorn (9 cups of it, pop it up however you like, microwave, air popper, whatever. I throw about 1/3 cup kernels and 3 T. vegetable oil in a big pot, cover and shake over medium heat until it's all popped, usually gives me around 9 cups.), butter, light corn syrup, sugar and a package of Jell-O (whatever flavor you like).

Throw the popcorn in a big bowl, the biggest you have. You want plenty of room, when the time comes, to toss it all around.

In a medium saucepan, set over medium-low heat, melt the butter and corn syrup.

Stir in the sugar and Jell-O (looks white but see on the edges, there is a bit of green, well it's gunna get a whole lot greener.) Bring to a boil over medium heat, stirring constantly.

Reduce heat to low and simmer, stirring constantly (it can burn quickly), for 5 whole minutes. Set a timer! 

OK, no pictures of the next few steps because we are working with hot sugar here and you've got to work quickly AND I have yet to master the art of "action photography". I'm working on it, I promise.

After a full 5 minutes, remove from heat and pour over the popcorn. Stir around until all of the popcorn is coated. Careful not to get any on you. It's hot and sticky and it will burn!

Then spread it out on a large rimmed cookie sheet that is lined with a Silpat or buttered foil. Use two forks to spread it out evenly. Then into a 300°F oven for just 10 minutes. Watch it close, some flavors start to brown and you don't want that. If you start to see brown, pull it out of the oven, stir it around a bit and then put it back in.

Remove from the oven and let it cool completely. You can see, I wasn't paying close enough attention and it started to brown a bit. If you catch it in time, no big deal, doesn't really change the flavor, it's an aesthetic thing.

Then break it up into manageable bite sized pieces and enjoy. Here you see I made lime and strawberry. In the past I've made lemon, orange, grape, blue-raspberry. Any flavor of Jell-O will work. Just don't use "Sugar-Free", it doesn't work. Some colors/flavors are more vivid than others, you'll just have to experiment for yourself. Enjoy!

Candy Popcorn

9 C. popped popcorn (un-popped kernels removed)*
1/4 C. butter
3 T. light corn syrup
1/2 C. granulated sugar
1 pkg. (4 serving size) Jell-O gelatin, any flavor

Preheat oven to 300°F. Line a large rimmed cookie sheet with a Silpat mat or buttered foil. Place popcorn in a large bowl.

In a medium saucepan heat butter and corn syrup over low heat until butter is melted. Stir in sugar and Jell-O. Bring to a boil over medium heat then reduce heat to low and simmer for 5 minutes.

Immediately pour over popcorn tossing to coat well. Spread into prepared pan, using two forks to spread it out evenly. Bake for 10 minutes. Cool, remove from pan and break into small pieces.

*If you like, reduce popcorn to 8 cups and add 1 cup of cocktail peanuts.

Tuesday, February 15, 2011

Butterscotch Bars

OK, sorry, late again. It's Tuesday afternoon. But this time I have a really really good excuse. I was away in Pebble Beach enjoying a weekend with my husband. Please find it in your heart to forgive me. I know you will. And alas, better late than never. I'll get back on track with Mondays next week, I promise, pinky swear even. OK enough excuses, on to cooking.

As a graphic designer, when people ask me what my favorite color is, I always reply "All of them." I really believe that each color has a purpose and when used properly it is "the perfect color".  I pretty much feel the same about cooking ingredients. Each flavor and texture is unique and when used to it's potential it becomes "perfect". Well, all that being said, if I had to choose, butterscotch chips would definitely fall into my "Top 10". There isn't anything else like them, smooth, creamy and totally unique in flavor. I just can't find enough ways to use them. I sneak them into chocolate chip cookies, sprinkle them on brownies. They are divine in oatmeal cookies and make a wonderful butterscotch "fantasy fudge". Heck, I'll even sneak a few out of the bag from time to time. They are just that good! So whenever I'm asked to bring something for a bake sale or pot luck, Butterscotch Bars are my first thought. On a table full of brownies and chocolate chip cookies, they really stand out. If you like butterscotch, you're sure to love these. So enjoy!

Butterscotch Bars

Here is what you'll need: butter, butterscotch chips (I always use Nestlé, feel free to experiment with another brand but I'm chicken!), sugar, vanilla, eggs, flour, vanilla malted milk powder (I know, wacky, but it adds a unique flavor, trust me.), baking powder, salt and chocolate chips.

Put the butter and butterscotch chips in a 3 qt. saucepan and gently melt on low heat. Stir frequently and keep the heat low, the butterscotch chips tend to burn.

Don't expect it to come together, it doesn't. Just keep stirring until all the butter and chips are melted. You may have to "mash" some of the chips along the bottom of the pan to get them all incorporated.

What you end up with is this alien-looking mass of goo. That's OK. Just take it off the heat and let it cool a bit.

In a mixing bowl, stir together the flour, malt powder, baking powder and salt.

Once the "alien goo" has cooled a bit (you don't want it to cook the eggs). Add  the sugar, eggs and vanilla and stir until well combined.

Add the butterscotch mixture to your dry ingredients and stir well. Make sure to scrape the bottom of the bowl and get it all mixed together.

Now, spread it evenly into you greased pan.

Sprinkle the chocolate chips evenly on top and press them down gently into the batter.  And into a 325°F oven they go. Just 30-35 minutes or until a toothpick inserted in the center comes out clean. Start checking at about 25 minutes.

Let them cool completely and then cut into bars.

Mmmmm, moist and chewy and butterscotchy.


Butterscotch Bars
Makes Approx. 4 dozen

1/2 cup (1 stick) butter
1 package butterscotch chips (11oz.)
3/4 C. sugar
1 t. vanilla
3 eggs
1-3/4 C. all-purpose flour
1/2 C. Vanilla Malt Powder
1 t. baking powder
1/4 t. salt
1 cup chocolate chips

Preheat oven to 325°F.
Grease bottom of 13x9 pan.
Heat butter and butterscotch chips over low heat, stirring constantly, until melted. Remove from heat and set aside to cool slightly. Beat in sugar, vanilla and eggs.
In a separate mixing bowl, stir together flour, malt powder, baking powder and salt.
Add in butterscotch mixture and stir until well combined.
Spread evenly into pan. Sprinkle chocolate chips on top and press down slightly.
Bake at 325°F for 30-35 minutes or until toothpick inserted in center comes out clean. Cool completely.
Cut into 2x1 inch bars.

Tuesday, February 8, 2011

"Soup"er Easy Corn Chowder

OK, so just a month into blogging and I've already blown it.  I'm late. I had the very best intentions to have a fresh new post for you every Monday and here it is, Tuesday afternoon and I'm just now getting to it. I do have an excuse, however pathetic it may be. This is a "soup"er busy week (I'm just so please with the pun I created that I'm going to use it as much as possible in this post, corny - oops another pun, yes, but you'll just have to deal with it.) OK, so back to my busy week. My daughter is in the school play which means she has to be at school from 5pm to 8pm every night this week; My son's birthday is Friday which means I've got to get my act together and get presents, cake and etc.; My husband and I are going out of town this weekend which means I've got to pack and get the house clean and ready for my dad to come stay. PLUS, I only got 3 days off this week instead of my usual 4 so I'm scrambling even more. Oh and almost forgot, Valentine's Day is Monday. Whew, I'm tired just thinking about it. Maybe I'll just crawl back into bed and It'll all go away. No, buck up Becky, soldier on. You can do it.  Nothing like a little self affirmation to get ya going.

This corn chowder recipe is ideal for the kind of week I'm having. It was one of my mom's "go to" recipes. I think she got the original recipe from either a Del Monte or Campbell's ad from some ladies magazine about 100 years ago (or more likely the 1970's). She modified it here and there over the years, then I got my hands on it and modified it even more. Practically everything you need is in the pantry (or can be kept there for a pretty long time.) It goes together in just about 15 minutes start to finish and it's delicious. I always keep all the ingredients on hand, just in case. Now, it's not fancy and there aren't any special tricks to get it right. If you can dump out a can, you've got it covered. This is also a great recipe for a buffet or winter open house. It stays warm beautifully in a crock pot BUT, heat it on the stove first then transfer to the Crock Pot. If you rely on the Crock Pot to heat it up you'll wait for days! OK, so on to the recipe. . .

Here is what you'll need:


Olive oil, a ham steak, milk, cream of celery soup, cream of chicken soup, a can of corn (you could probably use fresh or frozen here, you'll just have to heat the soup longer to cook the corn), milk, onion powder, dried basil and pepper (again, I forgot to show it, sorry!) 

NOTE: I use a lot of onion powder in my recipes ONLY BECAUSE, believe it or not, my husband does not like onion. I don't know how I managed to fall in love with a man who doesn't like onion when I adore the onion. Probably some Freudian explanation there but we'll leave that for someone else to figure out.  Anywho, if you prefer please do use a real onion, a small one - medium dice, and I'll let you know when and where to use it. Plus, I'll envy you and your real onion in this "soup"er chowder.

Dice the ham steak into approximately 1/4 inch chunks.

In a medium (3 qt. size) sauce pan, heat the olive oil over medium high heat. (Here's where you add the real onion if you are using it, then sauté until it's soft and translucent.)

Add the ham and stir around just until it starts to get brown around the edges.
(I love the way the ham is reflected in the side of the pan. Mmmmm, ham!) 
Turn your heat down to low.

Now just dump in both cans of soup and the milk.
Give it a good stir.

Next, drain the can of corn and add it along with the dried basil, onion powder and fresh ground pepper to taste. (No need for the onion powder if you used real onion, and you did because you want this to be "soup"er yummy!) Give it another good stir and let it simmer on low just until heated through. If it's too thick for your taste, just add more milk or some chicken stock.

It's great plain or you can top it with any number of things: diced green chiles for a little kick, a dash or two of Tobasco, shredded cheese, or these babies. I told you I like onion so I'll get it in there any way I can.

Any here you go, "Soup"er Easy Corn Chowder. Enjoy!

"Soup"er Easy Corn Chowder

1 T. Olive Oil
1 Ham Steak (6 oz. or more), 1/4 inch dice
1 can condensed Cream of Celery Soup (10 oz.? 12 oz.? just the "regular" size)
1 can condensed Cream of Chicken Soup (10 oz.? 12 oz.? just the "regular" size)
1-1/2 C. Milk
1 can Whole Kernel Corn, drained (again the "regular size", 17 oz.?)
1 T Onion Powder (or 1 small onion, medium dice*)
1 t. Dried Basil
Pepper to taste.

Heat the oil in a medium saucepan over medium high heat. (*If using real onion add and sauté until just translucent.) Add diced ham to pot and sauté until just brown on the edges. Reduce heat to low. Add both soups and milk. Stir until well blended. Add corn, onion powder (if not using real onion) basil and pepper to taste. Continue heating on low, stirring frequently, until heated through.