Monday, December 19, 2011

Chocolate Cherry Cookies


When I came upon this recipe on the Hershey's web site I knew I had to try it. Seriously, I love cherries; anything cherry flavored will get my attention. And I love chocolate. Really, do I have to even say that? The love of chocolate should always be assumed. I say you should only have to mention if you don't like chocolate. Afterall, you're the minority. OK, I'm off track and a little ahead of myself. . .

Again this year, I was invited to my dear friend Maria's Annual Holiday Cookie Exchange Party. It just doesn't seem like Christmas if she doesn't have this party. And as I've been attending this party for going on 10 years now, I've pretty much run through all my holiday cookie "stand bys". I've tried new recipes, good and bad, had a few repeaters in the mix and run through my recipe file. So, again, to the web I went. (I kind of feel like a cheesy super hero sidekick when I say that. "To The Web,  Away!") Any who, I googled "Christmas Cookie Recipes" and ended up on the Hershey's recipe web site. A bunch of tasty looking cookie recipes were there. I wanted a recipe easy enough that people would try making it but I also wanted something visually impressive. After all, I've been a food blogger for almost a year now and I have my reputation to think about. HA! HA! A drop cookie just wouldn't do. No disrespect to the drop cookie, they can be awesome, I just wanted a little visual pizazz. This recipe was it. I took a chance and here's what happened. . .

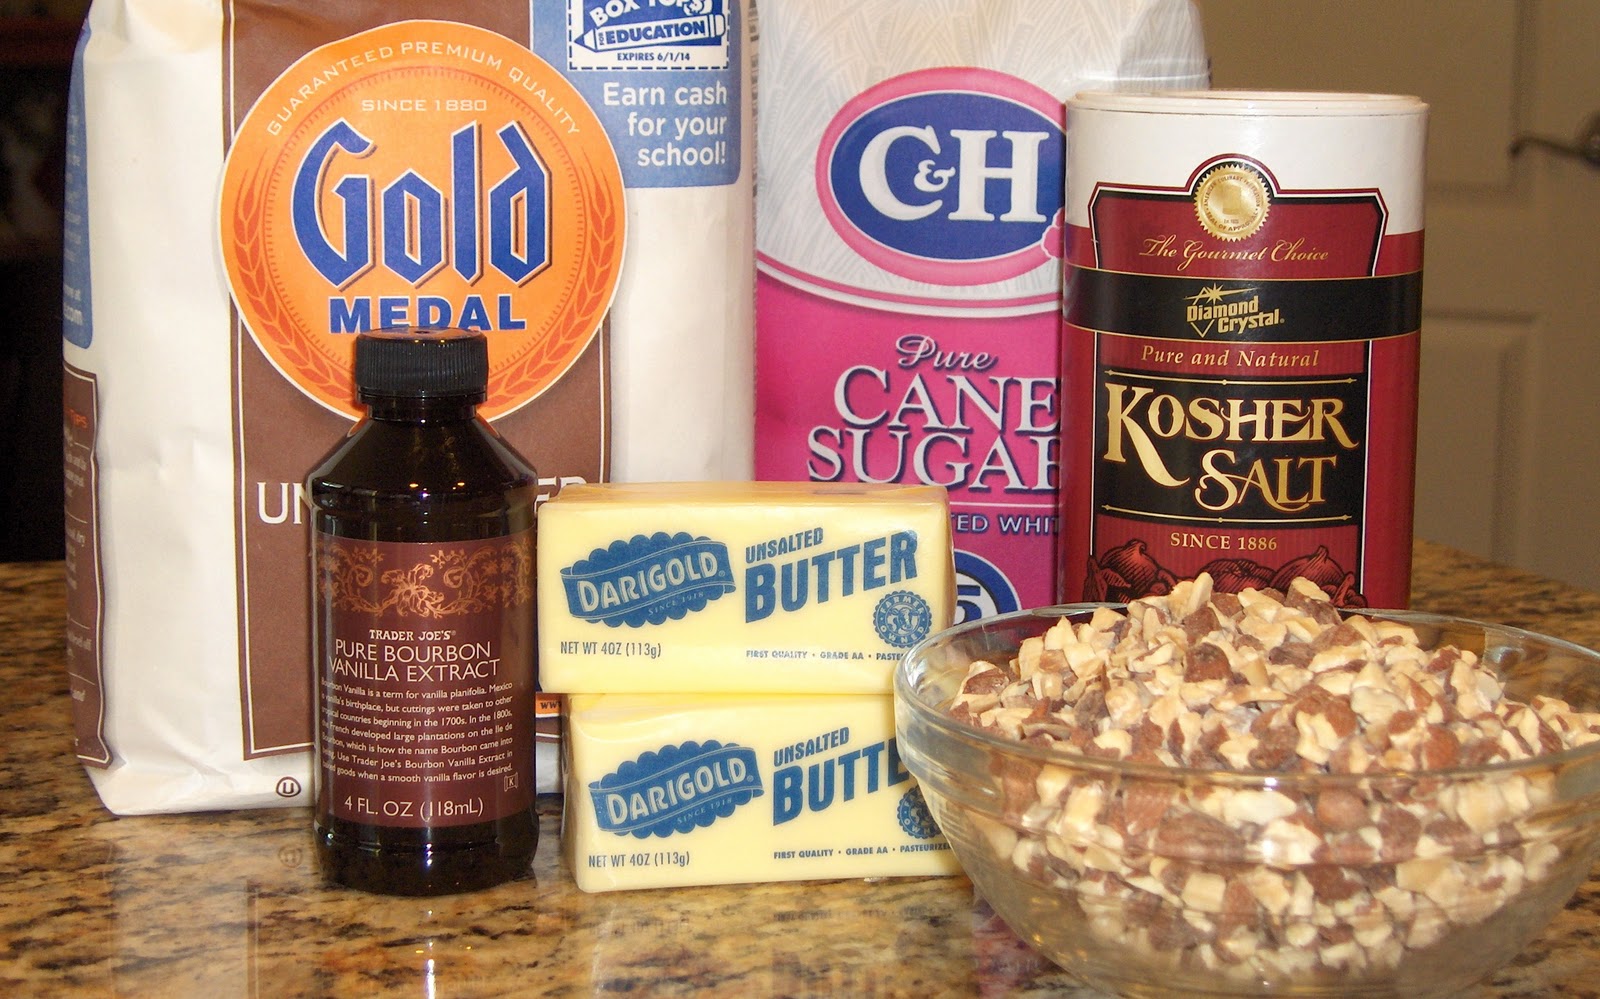
The players: butter, sugar, an egg, vanilla, AP flour, baking powder, salt, maraschino cherries, almond extract, cocoa and baking soda.

Start by draining and finely chopping the maraschino cherries. Measure 1/4 cup and set aside. I used approximately 1/2 of a 10 oz. jar.

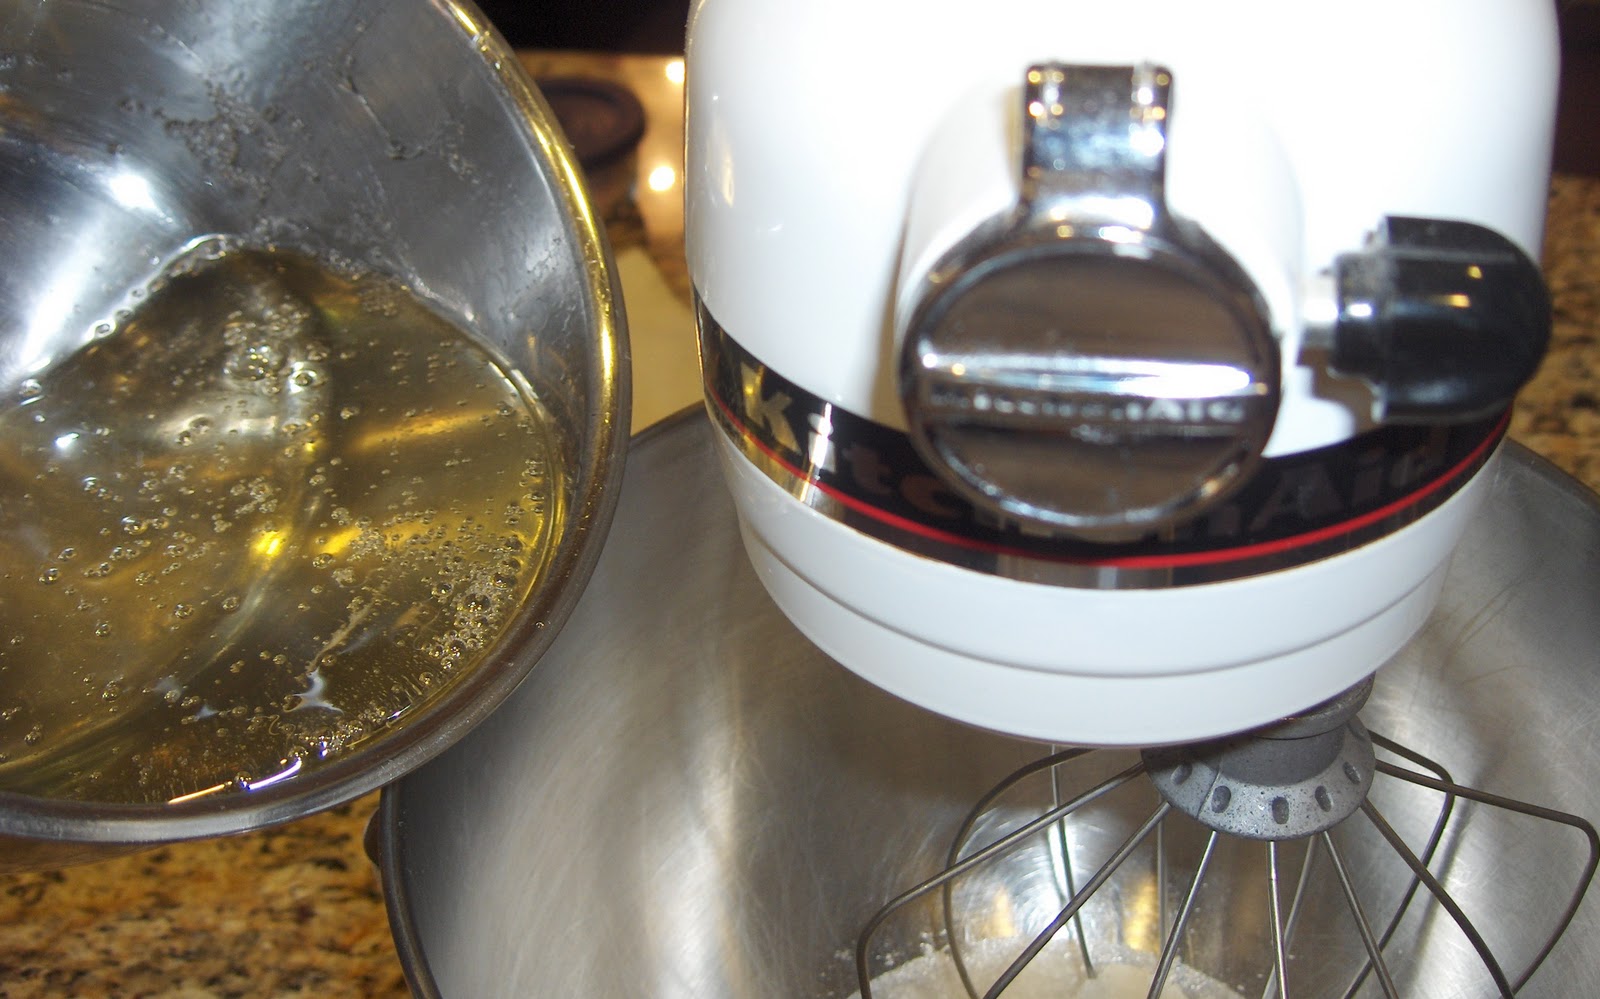
Next, mix together the butter, sugar, egg and vanilla. Get it nice and light and fluffy.
In a separate bowl, stir together the flour, baking powder and salt.

Gradually add the flour mixture to the butter mixture and beat until a smooth dough is formed.

Measure out 1-1/4 cups of dough in a separate bowl and add the chopped cherries and almond extract. Blend together well.

The recipe also calls for adding a few drops of red food color. I didn't, I figured there was enough color in the cherries to turn the dough a nice shade of pink. I was right. If you want a deeper pink, by all means, add a few drops of red food coloring. Set this dough aside.

In a small bowl, stir together the cocoa and baking soda.

Add the cocoa and baking soda to the remaining dough with 4 teaspoons of water and mix well.

Divide the chocolate dough into two equal pieces. The easiest way to do this is to use a kitchen scale. Or just eyeball it. What'eves.

Roll each half between two sheets of wax paper and form into a 12x4-1/2 inch rectangle. Seriously, waxed paper again. I told you this stuff is great!

Then, divide the cherry dough into two equal portions. Shape each into a 12-inch long "log". You may have to flour your hands a bit, but not too much.

Place the cherry "log" in the center of the chocolate rectangle and wrap the chocolate dough around it pinching the seam together. Use the waxed paper to lift the chocolate dough around the cherry.

Make sure the roll is tight and that the two doughs are stuck to each other without any "gaps".

Roll tightly in the wax paper and then again in plastic wrap. Refrigerate over night. 

Note: I put one roll in the fridge and baked it the next day. The other roll went into the freezer and was baked a week later. Couldn't tell any differences between them, which makes this a great cookie to make ahead and bake as needed.

When you're ready to bake, preheat the oven to 350°F. Slice the dough about 1/4 inch thick and lay the slices out on a Slipat lined cookie sheet. At this point I thought the cookies seemed small and I was disappointed that they weren't perfectly round.

(The recipe says "ungreased cookie sheet". I tried some on the Silpat and some directly on the cookie sheet. "On the sheet" stuck. I would recommend the Silpat or some parchment paper.)

Once the cookies baked (for 7 minutes, just until set but not browned) they were bigger and more round. Yea! I need to learn to have more faith.  After baking, let them rest 1 minute on the cookie sheet before removing them to a rack to completely cool.

I was pleased with how this recipe turned out and will likely make these again. The result is a light delicate cookie with a subtile combination of cherry, almond and chocolate flavors. They look really festive, but, all in all, really weren't too difficult to put together.

Here is a link to the recipe on the Hershey's web site: Chocolate-Cherry Slice 'N' Bake Cookies.  I didn't make the glaze that was included in the recipe. I really didn't think the cookies needed it.

Tuesday, December 13, 2011

Nutty Nougats - A Copycat?

Here is a cookie that most of you have probably seen around the holidays since you were a kid. They have many names: Snowballs, Russian Tea Cookies, Nutty Nougats. They are buttery and nutty. I like 'em. I've always liked 'em and I made them because they were on a web site that claimed they were a "copycat" for the Archway Cashew Nougat cookie. Here's the story. . .

These cookies right here in this photo are one of my all time favorite store bought cookies. They are only around during the holidays which makes them even more special. I look for them every year.  You can imagine my disappointment a couple of years ago when I couldn't find them. Nowhere, nada, zip, zilch. Not a single store had them. What gives? Off I went to the World Wide Web to find out.  There I made the heart-breaking discovery that "Archway" and it's parent company "Mother's" had closed up shop. WHAT! Say it ain't so. But, alas, it was and for the last couple of years I've had to do without.

I figured I couldn't be the only one desperately missing this holiday treat so I scoured the web for a copycat recipe and found one. I was going to give it a try when I stumbled upon these at the store. They're back? They're back! Hallelujah. I bought five packs. Apparently another company bought up the recipe and brand and is making them again. It's a holiday miracle. I'm a happy gal.

But, since I went to all the trouble to find a replacement recipe, and since, in these uncertain times, they may disappear again, I decided to give the recipe a try.

Here what you need: Butter, flour, sugar, salt, vanilla, finely chopped nuts and powdered sugar (not shown). About the nuts: I did not chop my nuts finely and I paid for it later. Please, don't be like me, finely chop your nuts. Also, the recipe calls for walnuts, pecans or cashews. I didn't have cashews or walnuts and I had just used pecans for Rugelach. So, I used almonds, they worked great.

Start by sifting and then measuring your flour. Set aside.

Next, cream together the butter, sugar and vanilla. Get it nice and light and fluffy.

Stir the salt into the flour and add to the butter mixture. Mix until well combined. The dough will seem crumbly.

Add the nuts. . .

. . . and stir until well combined.

Form dough into 1-inch balls. I say "form" not "roll" because this dough was really crumbly. When I tried to "roll" the cookies into balls, they just fell apart. I had to kind of squeeze and form them.  I think it's because I didn't finely chop my nuts. Lesson learned. Place the cookies a inch or so apart on a Silpat lined cookie sheet and into a 325°F oven for 20 minutes.

If the cookies start to brown get them out of the oven. I set my oven for 15 minutes, then checked them frequently until 20 minutes. These may be a bit brown. A few fell apart while cooking, I blame the nuts again. Cool them a few minutes and then transfer to a rack to cool completely.

Once cooled, toss them gently in powdered sugar until covered. Store in an airtight container.

Here's the verdict: They taste pretty good. I would make them again but with a few changes. I would definitely chop the nuts finely. I'd also form them into slightly smaller balls and cook them a few minutes less, for more of a "single bite" cookie. I would substitute some almond extract for some of the vanilla, though maybe not if I use walnuts or cashews. All and all, a good cookie. Not spectacular but a solid player on the Holiday Cookie Tray. However, as for being a copycat to the Archway cookie, I'd give these about a 4. I didn't notice many similarities at all. So as long as some company, any company, continues to make the Archway Cashew Nougat, I'll keep buying them.

If you want to give these a try, here's a link to the recipe. Happy Holiday Baking!

Wednesday, December 7, 2011

Rugelach


Continuing with holiday treats is another family favorite: Rugelach. It's pronounced rug-a-la or roo-ga-la, but at the end you make it sound like you're clearing your throat. If you're Jewish you know what I'm talking about. If you're not, ask a Jew, they'll know because these tasty cookies are Jewish. My BFF from high school was Jewish and I had the good fortune to be invited to several of their holiday celebrations which in turn exposed me to many new foods and traditions.  Then, by circumstance, my college roommate and BFF was Jewish and I was once again exposed to new traditions and culinary delights. This recipe comes from my college BFF's high school BFF and I've been making it for years. There are a lot of BFFs in this story but I think BFFs and food go really well together, don't you?

Now ironically these delicious cookies have become a part of our family Christmas cookie repertoire.  I'm not sure how it came about but one Christmas someone requested I make them, then they were requested again the next year and the tradition was born. As far as I'm concerned it doesn't matter what culture or religion they "belong" to, they are delicious and should be enjoyed by all. And really isn't that what we mean when we say "America is a cultural melting pot." Sharing traditions, adapting cuisine and creating new traditions makes this country great.

So make these delicious cookies for Christmas or Hanukah or for no reason at all other than they are delicious!

Here are the very simple dough ingredients: butter, cream cheese, salt and flour.  The butter and cream cheese should be at room temperature.


In a stand mixer, cream together the butter and cream cheese.


Get it well blended together. You shouldn't be able to see any distinguishable bits of butter or cream cheese. Add the salt and flour and mix just until a smooth dough forms. At the point you've got a great cream cheese pastry that you could use for a variety of recipes sweet or savory.


Divide the dough into 3 equal portions, wrap individually, and refrigerate overnight.


For the filling you'll need: sugar, cinnamon, melted butter and finely chopped nuts. The original recipe calls for walnuts but I had pecans and I like 'em better. Use what you like. Just make sure they are pretty finely chopped.


Stir the cinnamon and sugar together and set aside.


Working with one dough ball at a time. Roll out, on a well floured surface, into a 12-inch circle.


Brush with 1 tablespoon of the melted butter.


Then sprinkle with 1/3 of the cinnamon sugar and 1/3 of the nuts. Work quickly so the butter doesn't harden on the cold dough.


Lay a sheet of waxed paper (yes, again, my old friend waxed paper) over the dough and filling and roll over gently to press the filling into the dough. Don't press so hard that you roll the dough out bigger.


Divide into 12 pie shaped wedges. A pizza cutter works great for this. Roll up like crescent rolls, starting at the wide end and ending with the point. 


Line them up, 1 inch apart, on a silpat lined cookie sheet. You can curve the ends in slightly if you like. Beat together 1 egg yoke and 1 teaspoon water and brush lightly on the tops. This will give the cookies a nice shiny finish. Then into a 350°F oven for 30 minutes until they are a deep golden brown. Repeat the process with the remaining 2 dough portions.


Mmmmmm. Tender, flakey, nutty and spicy. Rugelach. Make it one of your traditions.

Rugelach

Cream Cheese Pastry
1/2 lb. butter (2 sticks)
1/2 lb. cream cheese ( 1-8oz. package)
1/2 t. salt
2 C. all purpose flour

Filling
1/2 C. + 2 T. sugar
3 t. cinnamon
3 T. butter, melted
1-1/4 C. walnuts, pecans or almonds, finely chopped

Glaze
1 egg yoke
1 t. water

In the bowl of a stand mixer cream butter and cream cheese until blended and smooth. Beat in salt. On low speed, gradually add flour.  When dough is smooth, with lightly floured hands, divide dough into 3 equal portions. Form each into a ball and flatten slightly. Wrap individually and refrigerate several hours or overnight.

Preheat oven to 350°F.
Place one ball of dough on a well floured surface. With floured rolling pin, roll dough into a 12-inch circle. Brush with 1 tablespoon of the melted butter. Working quickly, before butter hardens, sprinkle dough with 1/3 of the cinnamon-sugar mixture and 1/3 of the nuts. Roll over the filling lightly with the rolling pin to press the filling slightly into the dough. Cut into 12 pie shaped wedges. Roll up like crescent rolls, starting with the wide end and ending with the point. Place point down, 1 inch apart on a greased or silpat lined cookie sheet. Beat together the egg yoke and water. Brush cookies lightly with glaze and bake for 30 minutes until deep golden brown.
Makes 36 cookies.

Tuesday, November 29, 2011

Peppermint Marshmallows


Chocolate? Peppermint? It must be Christmas. Yahoo! The season is here and it's one of my favorites. And on the subject of favorites this here recipe is one of my kids' favorites. Seriously, as far as they're concerned, it's not Christmas if I don't make these. One year I hadn't planned on making them and I almost had a revolt on my hands. But luckily, these are very easy to make and I was able to quell the revolution. So, difficult? No. A bit time consuming? Yes.  There are a lot of steps and there is some waiting time, so I'll dispense with a lengthy introduction and get right to it. . .

Here's what you need: unflavored gelatin, granulated sugar, light corn syrup, salt, peppermint extract, candy canes and powdered sugar. You'll also need semi-sweet chocolate chips and shortening. (But I forgot to show them. Oops!)


Start by crushing up 5 or 6 regular sized candy canes. I "triple bag" them and use a meat tenderizer. I highly recommend the "triple bag", those little shards can get sharp and easily cut through just one bag. Then you have a real sticky mess on your hands.


There you have it, crushed candy canes. Cover them until you need them.
They tend to absorb moisture out of the air and start to clump up quick.


Next, set a 8x12-inch pan on a rimmed cookie sheet and dust liberally with powdered sugar. Get a good layer going. You shouldn't be able to see the bottom of the pan.
I really like the disposable pans from the Dollar Store for this. Just makes it easy!


Put the gelatin and 1/2 cup water in the bowl of a stand mixer and let set for 30 minutes to soften.


While the gelatin is softening get your sugar syrup going. Add the sugar, another 1/2 cup water, corn syrup and salt to a saucepan. Stir over low heat until the sugar is totally dissolved.


Wash down the sides of the pan with a wet pastry brush.
Don't skip this or you'll get grainy sugar syrup.


Clip on a candy thermometer, raise the heat and cook to the "firm ball stage" (244°F) without stirring. This may take a while. Be patient! I love this digital thermometer. If you are going to do any serious candy making, I highly recommend it.


When the sugar reaches 244°F immediately remove it from the heat. Fit your mixer with the whisk attachment and turn it on low. Slowly pour in the hot sugar, running it down the side of the bowl, avoiding the moving whisk. If it hits the whisk it will fling hot sugar all over. Not fun!


Once the hot sugar is all in and has melted the gelatin, set the mixer on high and whip it until its thick, white and almost 3 times its original volume. This is not thick, white or tripled in volume.


This is. Yea. Add the peppermint extract and beat to incorporate.
Add the crushed candy cane and stir until evenly distributed.


Pour the mixture into your prepared pan. The candy cane will turn it a lovely shade of pink with little red flecks. I love it!


Wet your hands and pat it evenly into the pan.


Dust the top with more powdered sugar and let set out overnight, uncovered, to dry out.


Turn it out onto a cutting board. You may need to loosen it up a bit from the sides of the pan.


Use a very sharp knife to cut 1-inch squares. If you have trouble with the knife sticking, run the knife under hot water, dry it off and then try cutting.


Toss the squares with more powdered sugar.


And set them on a sheet to dry out the edges. I let them dry overnight again. That pile there in the corner is all the "scraps". I like really straight sides so I trim off the edges before cutting into squares. I have no trouble finding someone to scarf up those scrap pieces.

You could stop right here and you'd have lovely peppermint marshmallows. Perfect for a creamy cup of hot chocolate. I save a few for that. But let's take some to the next level: Chocolate Dipped.


Once the marshmallows have dried and the edges are no longer sticky, toss them around in a strainer, set over a big bowl, to knock off any excess powdered sugar. If there is loose sugar left on then the chocolate won't coat evenly.


Line them up on a silpat mat.

Melt the chocolate and shortening together until smooth and liquid. I have this fancy schmancy chocolate melter thingy but you can use a glass bowl and the microwave. Microwaving and stirring 15-30 seconds at a time until it's melted. Plop a marshmallow into the chocolate.


Quickly flip it over to coat.


And lift it out with a fork. Tap the fork several times on the side of the bowl to knock of any extra chocolate. Then use a skewer to slide it off onto the silpat mat. Sprinkle lightly with any extra leftover crushed candy cane.


Yummy, chocolate dipped, home made, peppermint marshmallows. Great for eating. Great for giving. You're going to love 'em!


Chocolate Covered Peppermint Marshmallows
Adapted from Martha Stewart's "Homemade Marshmallows"

2-1/2 T. unflavored gelatin (approx. 3 envelopes)
1-1/2 C. sugar
1 C. light corn syrup
1/4 t. salt
1T. peppermint extract
4T. crushed candy canes, plus extra for decoration. 
      (approx. 5-6 regular sized candy canes)

3 C. semi-sweet chocolate chips
3 T. vegetable shortening

Powdered sugar for dusting

Set an 8x12-inch pan on a rimmed cookie sheet and dust generously with powdered sugar. Set aside. Combine gelatin and 1/2 cup cold water in the bowl of a stand mixer fitted with the whisk attachment. Let stand 30 minutes.
Combine sugar, corn syrup, salt and another 1/2 cup water in a small heavy saucepan and place over low heat. Stir until sugar has dissolved. Wash down the sides of the pan with a wet pastry brush.
Clip on a candy thermometer and raise the heat to high. Cook without stirring until it reaches 244°F (firm-ball stage). Immediately remove pan from heat.
With mixer on low speed, slowly and carefully pour syrup into the softened gelatin. Increase speed to high and beat until mixture is thickened, white and almost tripled in volume, about 15 minutes. Add peppermint extract, beat to incorporate. Add crushed candy cane pieces and mix briefly to distribute.
Pour mixture into prepared 8x12 pan. Pat smooth with wet hands. Dust with powdered sugar and let stand overnight, uncovered, to dry out.
Turn out onto a cutting board and cut into 1-inch squares and toss in a bowl with more powdered sugar.

Microwave chocolate and shortening on high for 30 seconds. Stir. Continue to microwave, 15 seconds at a time, stirring in between until chocolate is melted. Dip marshmallows in chocolate and sprinkle tops with crushed candy cane.

Makes about 40 marshmallows