
My husband wanted a chocolate and raspberry cake so I decided to make chocolate cake with raspberry filling and raspberry buttercream and then glaze the entire cake with more chocolate. I won’t lie. . .it was yummy! There is only one piece left and I’m sorely tempted to scarf it down before my husband gets home from work. Yah, yah, I know, it’s his cake; but I don’t like to share when it comes to cake. It’s a problem, I need help. . .
So here we go, we’ll make the raspberry puree/sauce/filling, then the buttercream and then the glaze. The puree/sauce and glaze can be made several days in advance and stored in the refrigerator or freezer. You’ll want to make the buttercream the same day you use it. Trust me, it just works better that way.
Raspberry Puree/Sauce/Filling

Start off with a 10-12 oz. bag of frozen raspberries.

Add them to a sauce pan and put the heat on medium.

Cook and stir until the raspberries start to breakdown and the juices start to flow.

It’s OK if it bubbles a bit but you don’t want a boil and keep the heat at medium so you don’t burn the sugar in the raspberries. You want to cook it down until it’s thick enough to coat the back of a spoon. What you want to end up with is a thick yet “pourable” sauce.

Once you think you’ve got it to the right thickness pour it into a fine strainer set over a bowl.

Stir it all up and mash it about until all you’re left with is the seeds.
Those go in the trash.
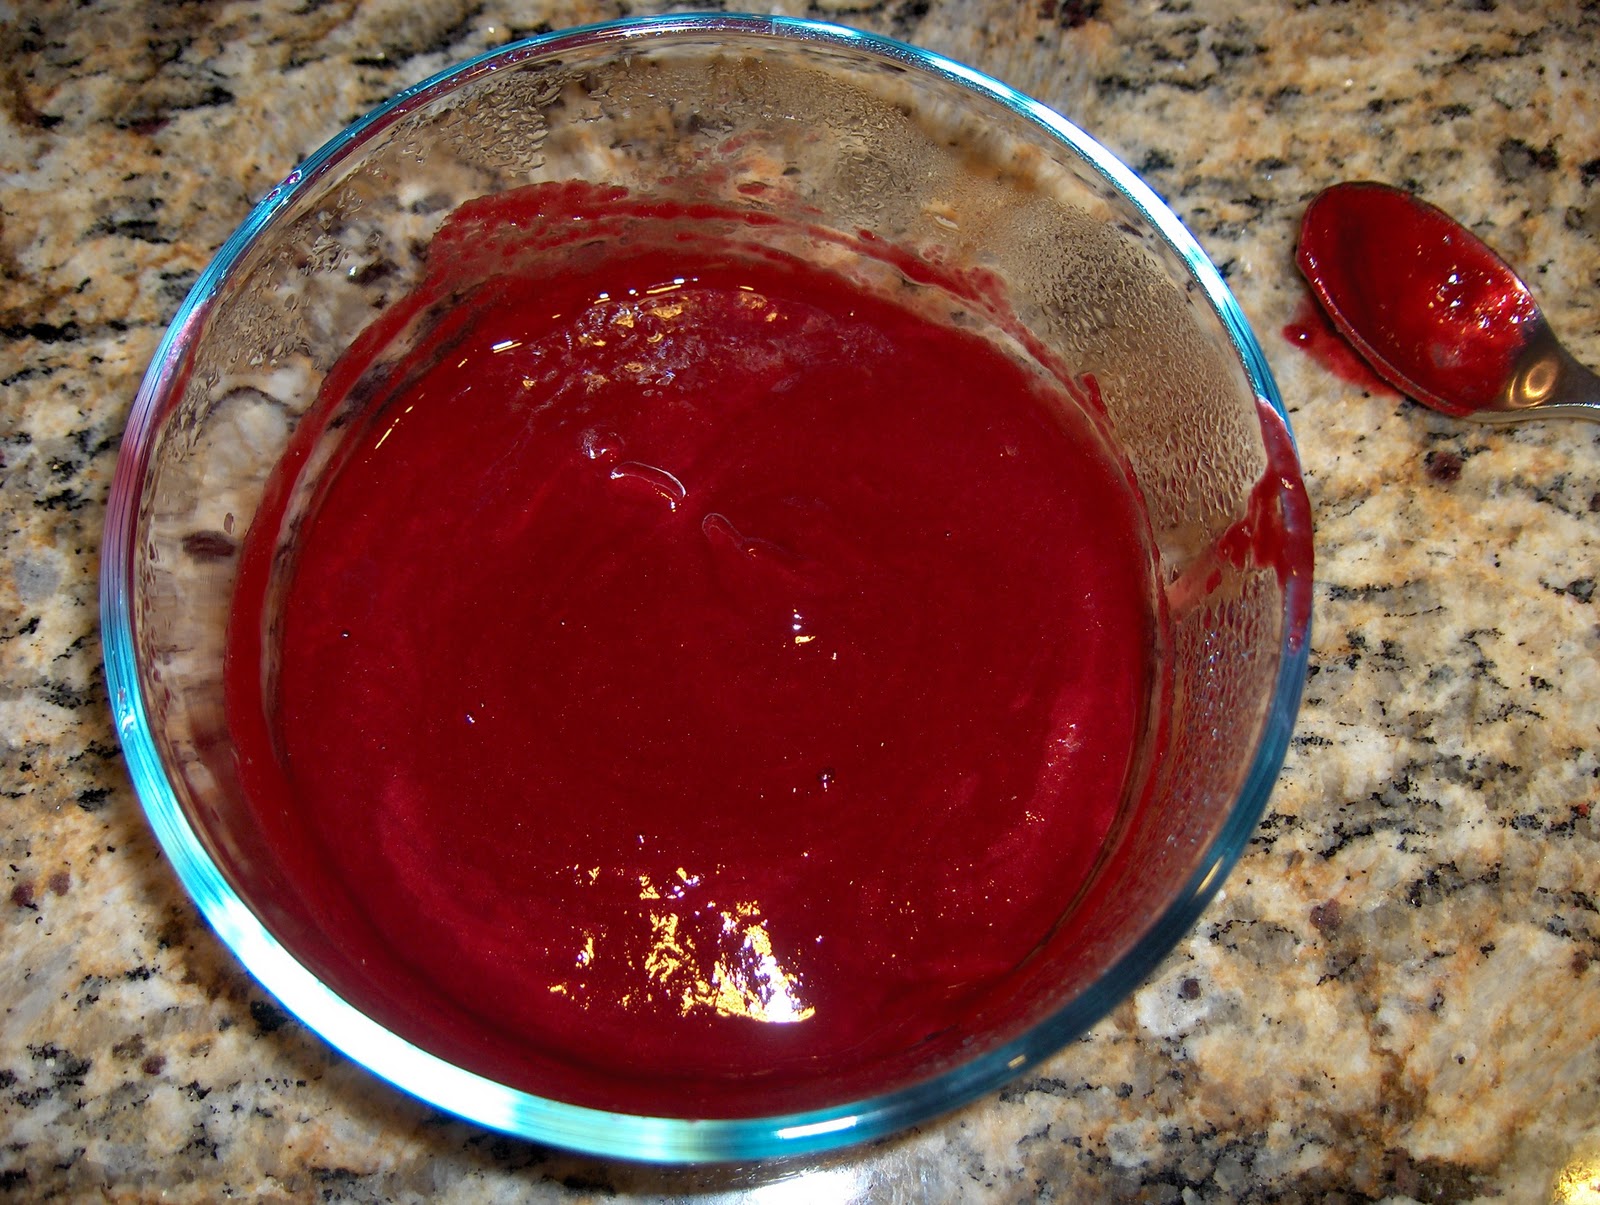
What you’re left with is about 3/4 of a cup of thick raspberry puree/sauce. Now set this aside (you can freeze it if you like) until it’s time to make the buttercream.
NOTE: For the raspberry filling you can use store bought jam. I, however, do not like seeds and have a hard time finding seedless raspberry jam or filling so I do the following. Make another batch of the puree/sauce. Once you get to the stage above, put it in the microwave and reduce it further to the consistency of a jam or jelly. Pretty easy, huh?
Now for the Raspberry Buttercream:
I use a slightly adapted version of Nick Malgieri’s “Easy Meringue Buttercream”. I highly recommend his book “How To Bake” . It's one of my favorites. A bit of a warning here: once you make buttercream this way you’ll never go back to shortening and powdered sugar again. This is super silky but not too sweet and delicious! So let’s get to it.
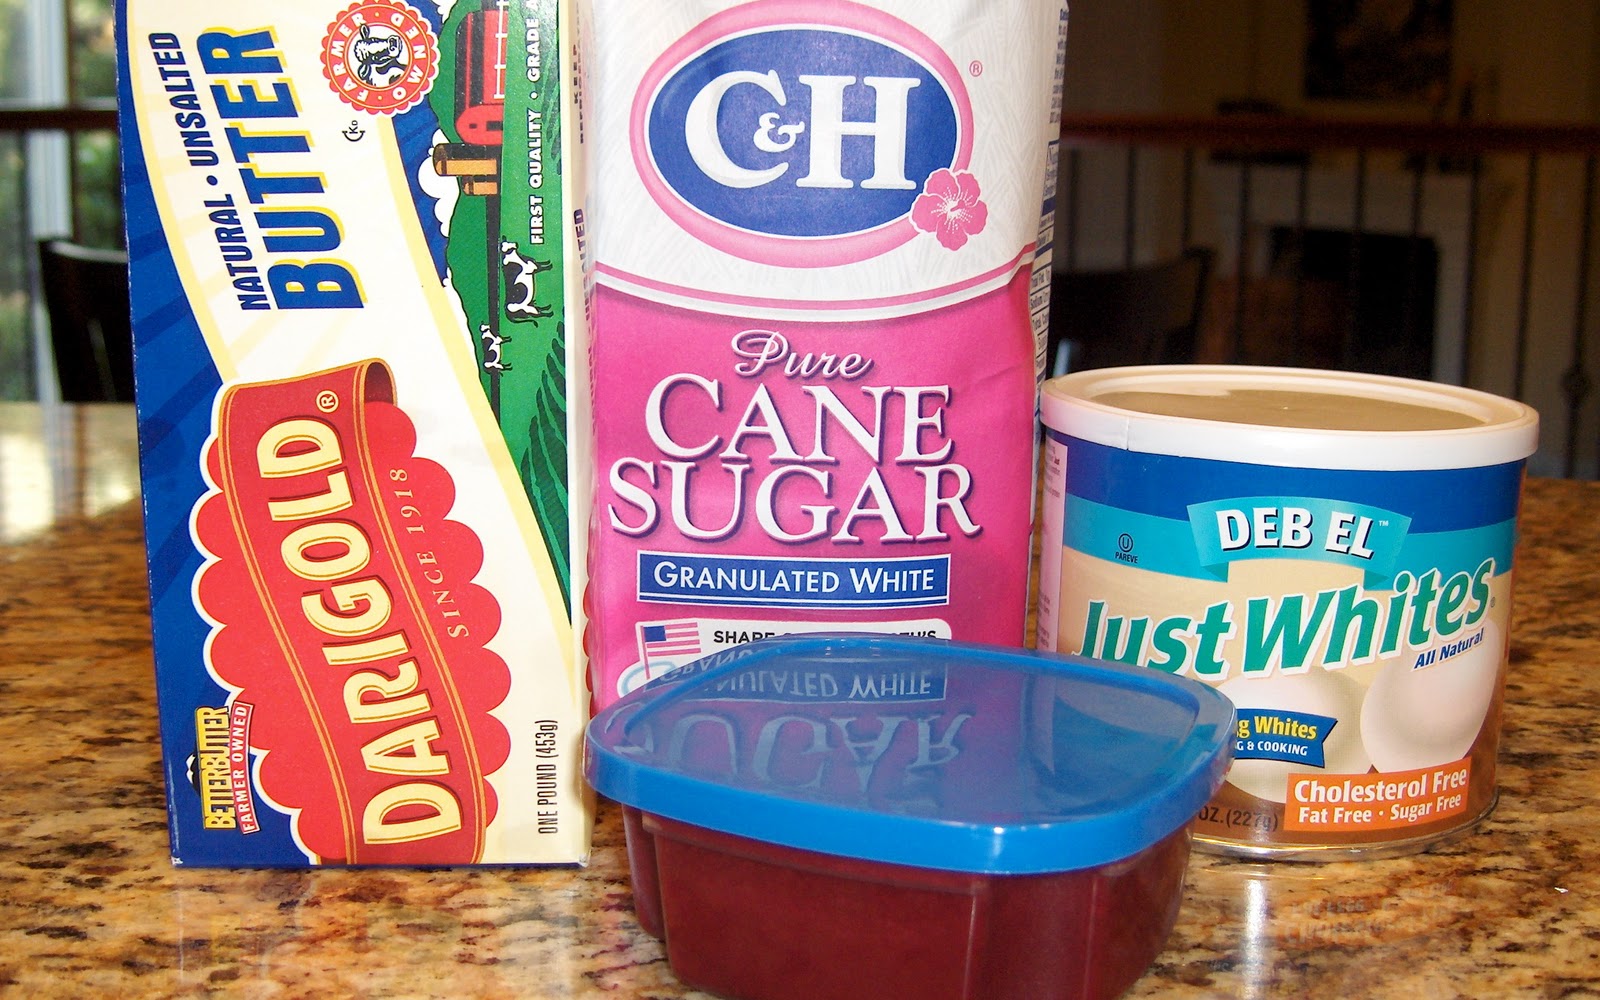
The ingredients are simple: Butter at room temperature, sugar, egg whites, salt (forgot to show it) and the raspberry puree. I love these powdered egg whites and use them because there is no chance of any yoke getting into the mix and totally deflating you meringue; they are completely safe from a food safety standpoint; they keep on the shelf forever and lastly I’m not stuck with a bunch of yokes in the end. Feel free to use the liquid egg whites in the carton or separate your own. Whatever you like, just make sure you end up with 1/2 cup of egg whites (from approximately 4 eggs).

Put 1 cup of sugar, 8 teaspoons of the powered egg whites and a pinch of salt to your mixing bowl. I do this right in the bowl of my Kitchen Aid mixer. You can use a separate bowl just make sure it is heat proof; you’ll use it as a “double boiler”.

With a whisk, mix it all up until you can no longer see the powdered whites.
Then add 1/2 cup water and whisk it together. If you are using liquid egg whites just add 1/2 cup of egg whites to the sugar. No water is needed.

Place the bowl over a pan of simmering water (not boiling and water should not touch the bottom of the bowl). Whisk gently but constantly until the mixture reaches 140°F and the sugar is dissolved. It will take just a few minutes to get there. Use a thermometer. This is a fancy schmancy one my husband got me for Christmas one year. It’s great, I’m spoiled, but any kitchen thermometer will work.

Now put the bowl on the mixer and with the whip attachment, whip the egg whites, on medium speed, until completely cooled. If you put your hands on the outside of the bowl you shouldn’t feel any heat. If you do, keep going, you want them COMPLETELY cooled!

When the meringue is done it will be thick, glossy, cooled and almost doubled in volume.

Now comes the tricky part. Add 3 sticks of butter, one tablespoon at a time, to the meringue mixture, with the mixer on medium low speed. Keep adding until all the butter is in there. Don’t worry if it looks clumpy and “wet”, kind of like runny scrambled eggs. Once all the butter is in, turn the mixer to medium high and whip it until it is thick and creamy. This may take a while but don’t give up, it will get there. I said, “DON’T GIVE UP”, the butter will eventually emulsify and you’ll get a creamy spreadable buttercream.

See, told ya so, it will get there, be patient!

Now add the 3/4 cup of raspberry puree/sauce. And beat about 2 to 3 minutes just until it’s all incorporated.

What you end up with is a lovely deep pink, intensely flavored buttercream. Congratulations! Now go ice that cake (or wait a week until I post part 3, then “Go Ice That Cake!”)
Last but not least, the Chocolate Glaze (this is super easy, in fact so easy, I forgot to take any pictures. But I have faith that you can do it. I believe in you!) Again this is very slightly adapted from “The Whimsical Bakehouse” by Kaye and Liv Hansen, another one of my favorite cake books.:

Here is what you need: Light corn syrup, semi-sweet chocolate, butter and heavy cream. You can use some super expensive, artisan made, imported chocolate if you like. Me? I’ve had great results with plain old Nestle Morsels.
Chop up 12 oz. of chocolate and put it in a heat proof bowl. (Of course if your using the morsels, no chopping needed.)
In a medium saucepan add 1 cup heavy cream, 5 tablespoons butter and 2 tablespoons corn syrup. Heat over medium heat until butter is all melted and you just start to see tiny bubbles around the edge of the pan, just before it starts to boil. But DO NOT BOIL!
Now pour the hot mixture over the chocolate and using a whisk, stir until smooth. If you’re super particular you can pour the glaze through a strainer to make doubly sure is is smooth. I never do, I live on the edge, I’m a risk taker.
You can refrigerate this to use later if you like or use it the same day. It should be about 100°F for glazing the cake so if you have refrigerated it, melt it slowly over a double boiler until smooth and liquid and then cool to 100°F.
OK now, there you have it. All the stuff you need to assemble and finish your cake. Part 3 will be posted in a week or so, so stay tuned, you’re really going to love how it all comes together.
Cheers!
Becky
No comments:
Post a Comment